

Wedding Flat Lay Styling Tips and Advice from a Southern California Wedding Photographer
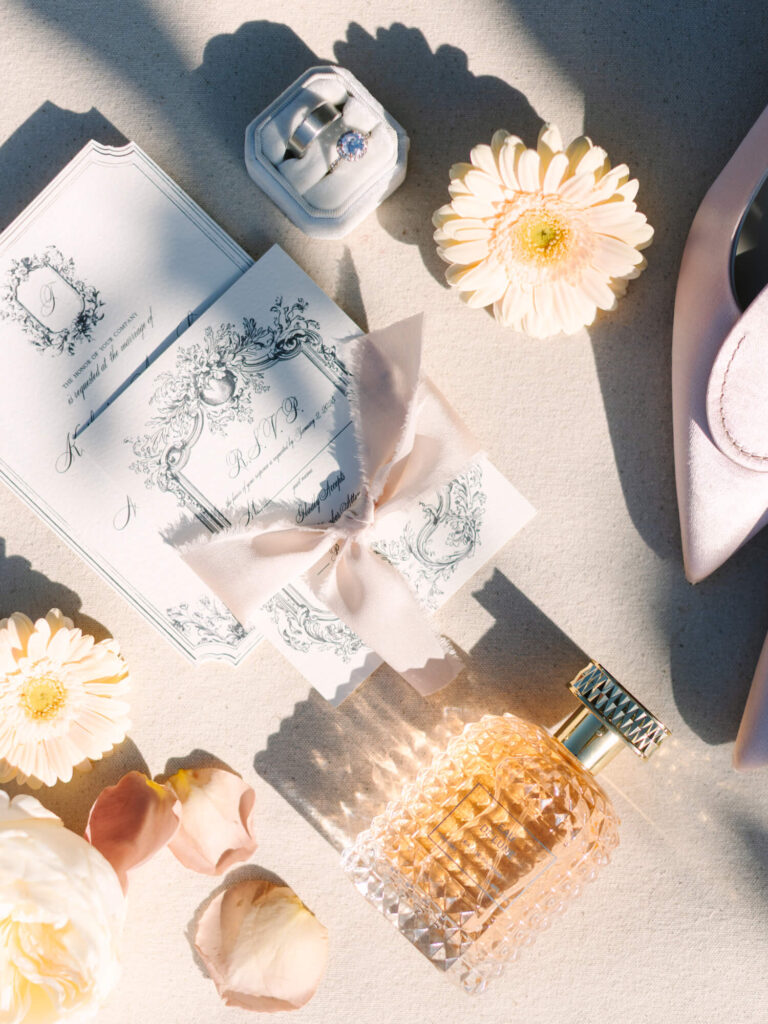
Flat lays may look simple from the outside, but any photographer knows how much intention and technique go into creating them. It’s so much more than placing details on a table. It’s storytelling, it’s design, and it’s elevating a couple’s heirloom pieces into something beautiful and cohesive.
I created this guide to help you refine your flat lay styling and confidently create detail images that feel polished, elevated, and aligned with a luxury wedding experience. These small shifts can completely transform your work and help you serve your couples with a gallery they’ll love.
Here, you’ll learn how to plan ahead, compose intentionally, and style with confidence so your flat lays feel calm, balanced, and photogenic.
Let’s get into it 🙂
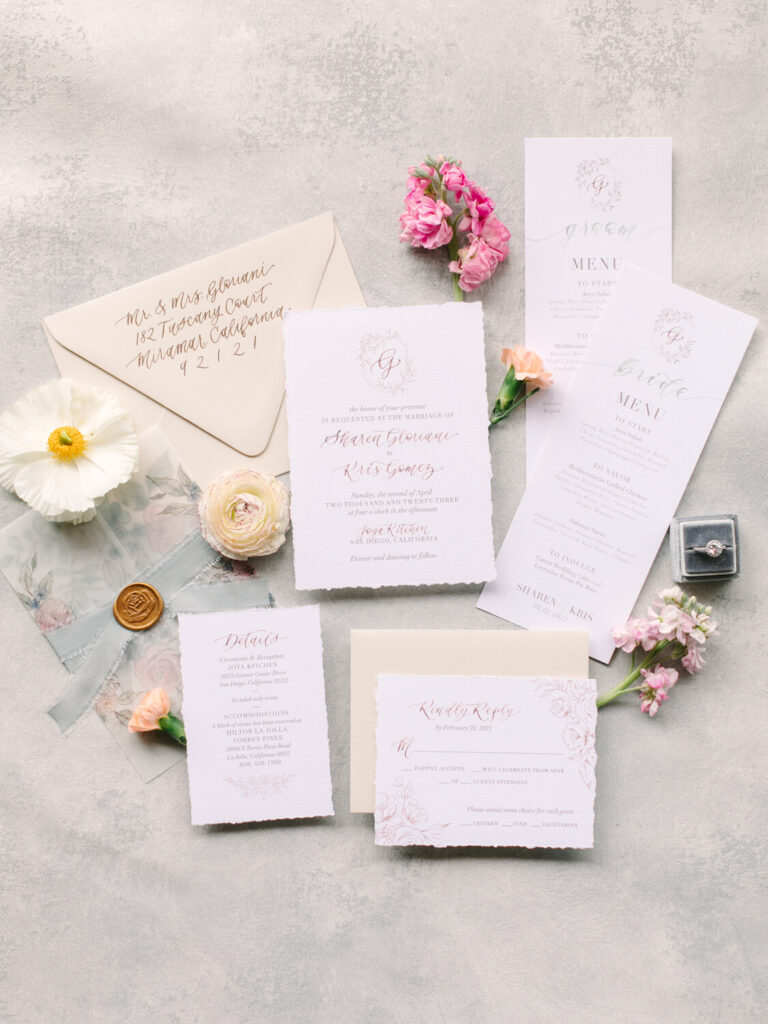
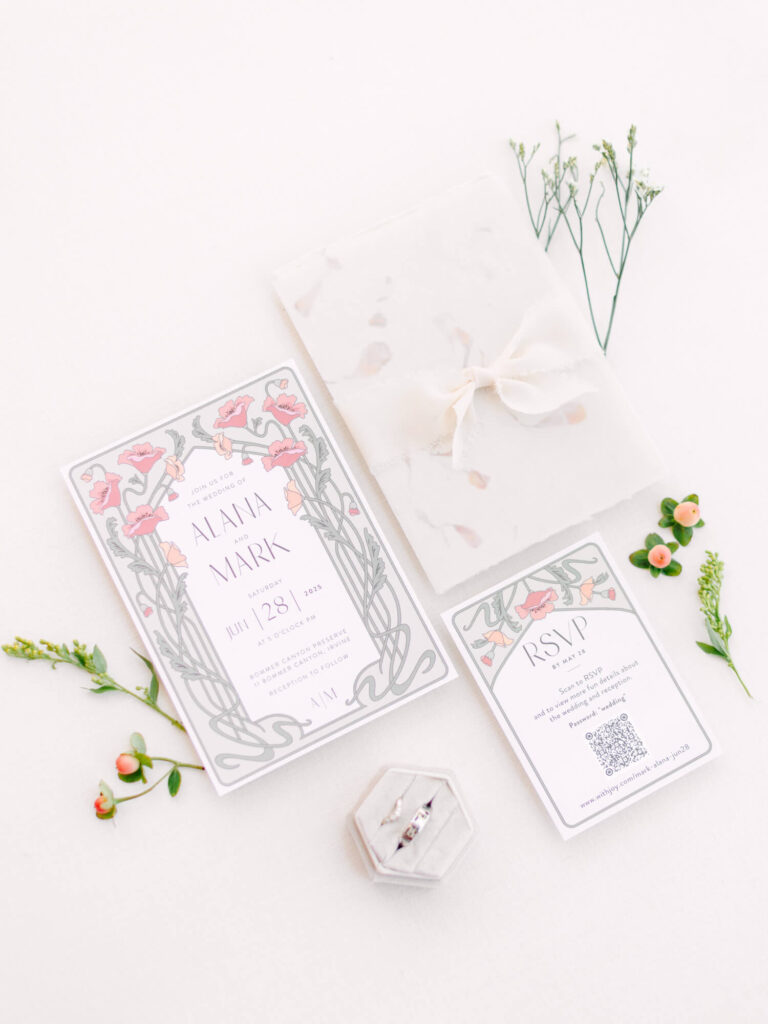
1. Choose the Right Wedding Flat Lay Background
Your flat lay styling mat sets the tone for the entire flat lay. It’s the foundation that everything else rests on. Look for backgrounds with intentional color, texture, and tone that complement the couple’s details rather than compete with them. My favorite flat lay surfaces are Locust Collection, Olive & Oak, and Chasing Stone.
A few quick rules:
- Choose a background that lets the subject stand out. White invitation? Avoid matching white. Go slightly warmer or cooler instead.
- Consider the wedding’s color palette so your detail photos feel cohesive with the day.
- Use quality styling mat, boards or fabrics that give you flexibility and elevate your look.
A thoughtful backdrop instantly raises the level of the entire flat lay.
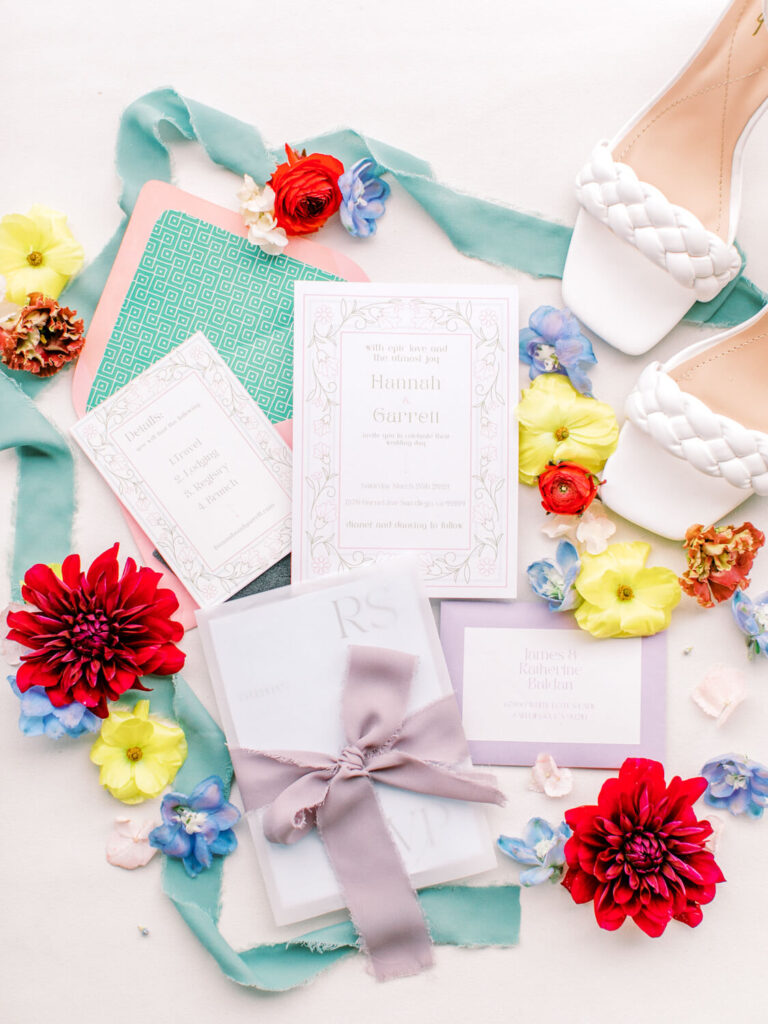
2. Place Key Items With Intention
Placement matters. It can make the difference between a flat lay that feels balanced and one that feels chaotic.
A few go-to principles:
- Use the rule of thirds to help guide your composition.
- Leave a clean border so your layout feels framed.
- Think about balance in color, texture, and weight. For example, if there’s something dark on the top left, try to echo it bottom right.
Little shifts in placement can completely change the structure and strength of your image.

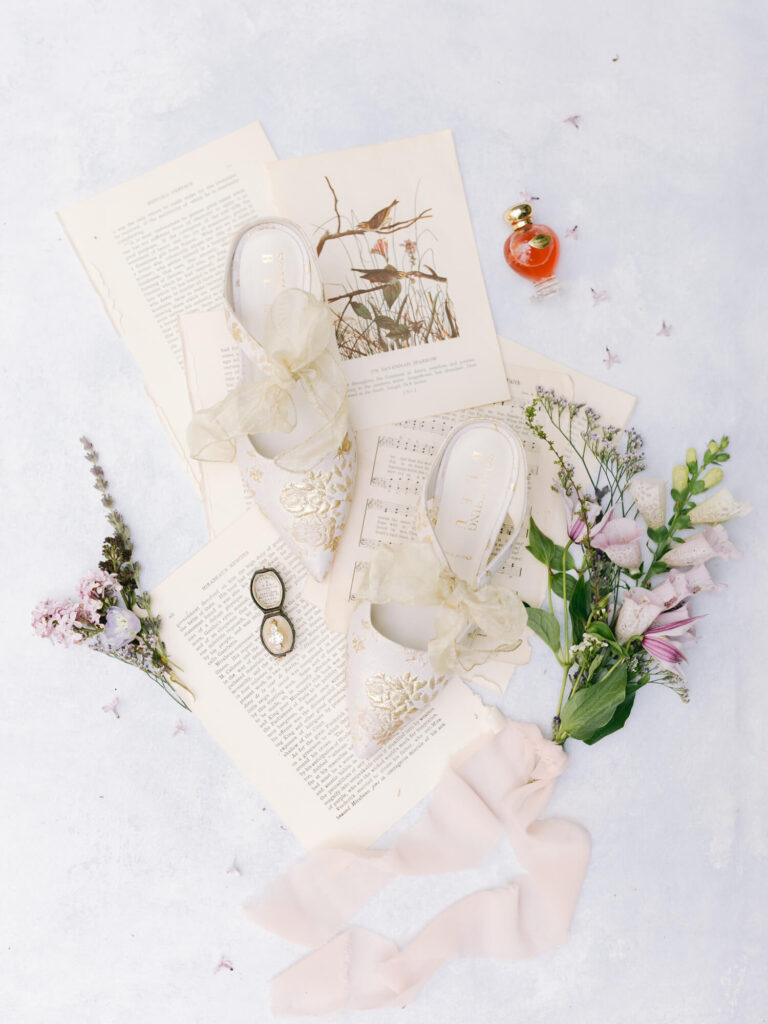
3. Add Depth to Your Wedding Flat Lay Details
Depth instantly elevates a flat lay. It makes the details feel dimensional and draws the viewer in.
Try:
- Acrylic risers
- Small styling blocks
- Anything that gently lifts pieces without being visible (your camera lens can be a perfect substitute!)
Different heights allow you to overlap elements, create soft shadows, and add visual interest, especially for simple invitation suites that need a little help.
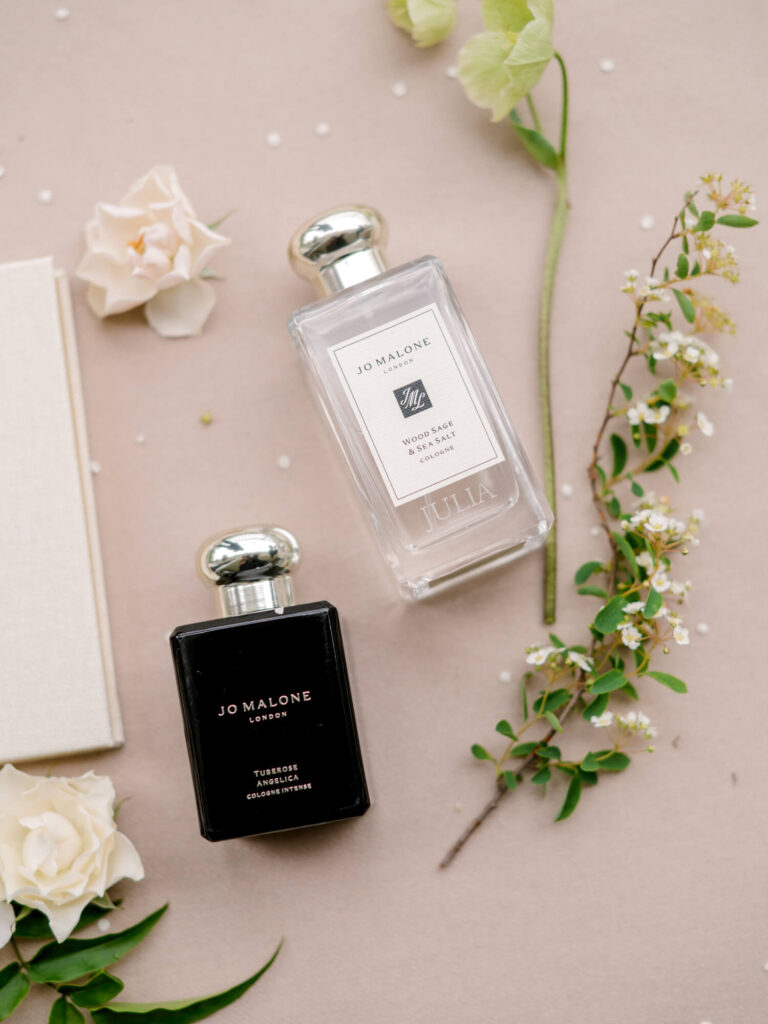
4. Balance Your Layout
Balance is the heart of a beautiful flat lay. Too much of one color, texture, or shape in one area throws the whole frame off.
Check for balance in:
- Negative space
- Colors
- Textures
- Angles
- Visual “weight”
Imagine placing your image on your finger to see if it would tip. That’s how balanced it should feel.
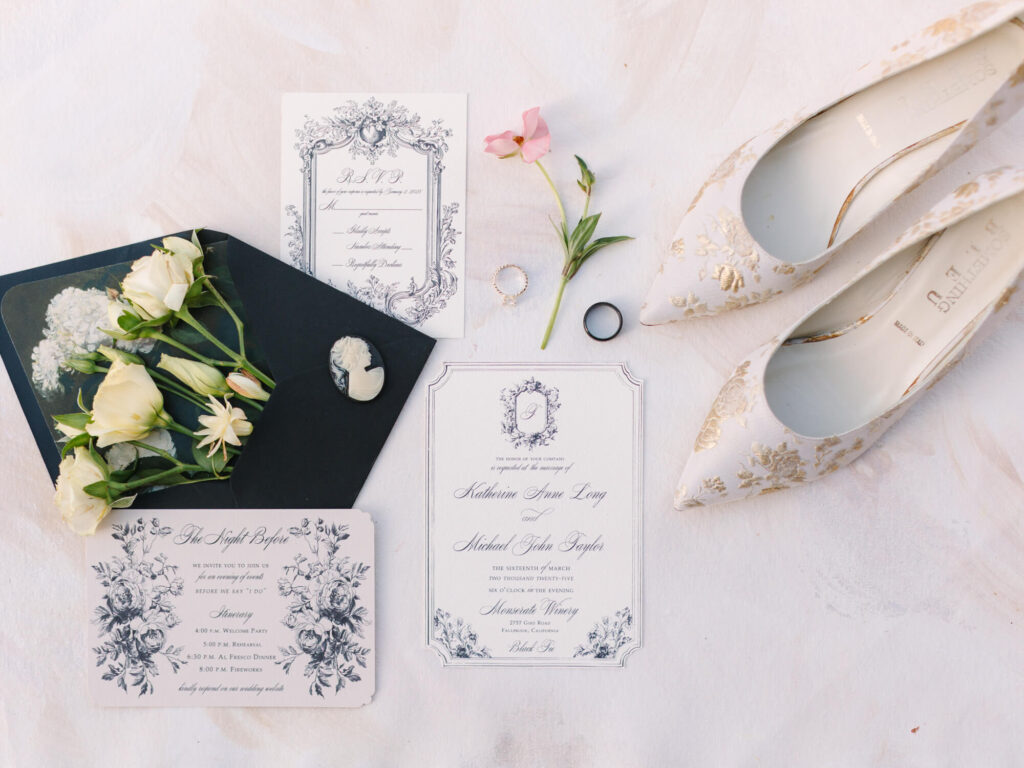
5. Plan Ahead with Wedding Invitation Flat Lay
If possible, request the full invitation suite ahead of time, complete with stamps, calligraphy, and multiple copies of key pieces.
Here’s why:
- You can plan your color palette, props, and backdrops.
- You avoid rushing the morning-of while everything is chaotic.
- You have more time to create something beautiful and intentional.
If advance time isn’t possible, ask for a quick photo of the suite beforehand. And if all else fails, photograph it the next day when the pressure is off. You’ll create better work when you’re not rushed.
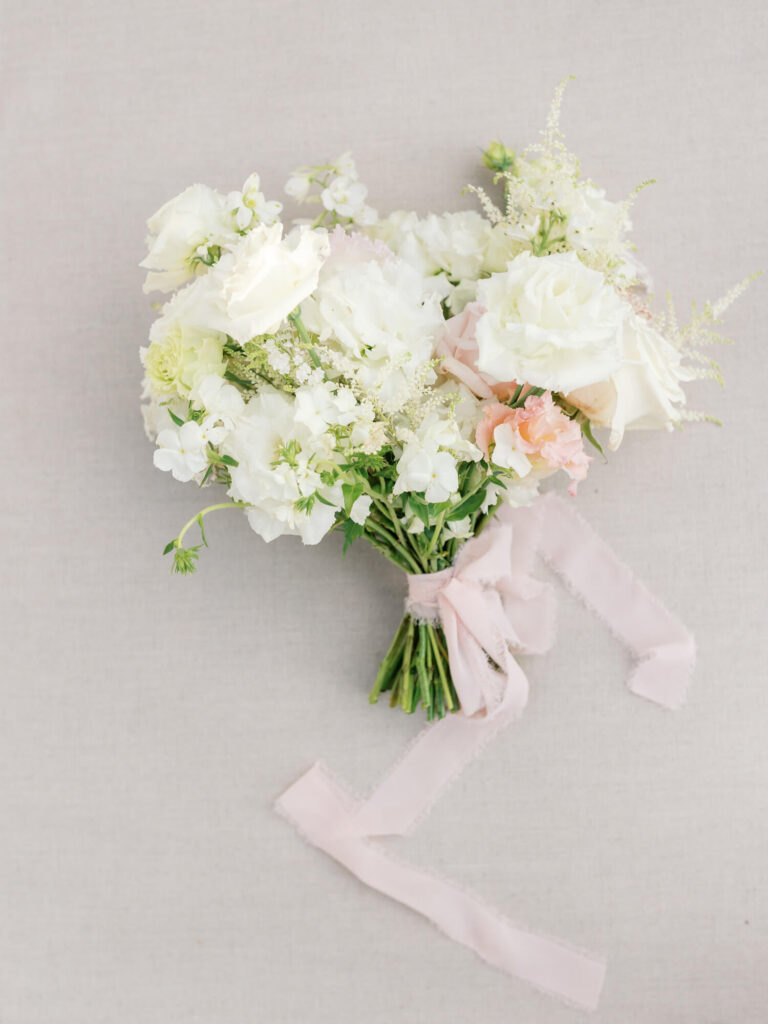
6. Collaborate With the Creative Team
Your planner, florist, and designer are your best allies. They often have extra florals, ribbon, styling pieces, or insight that can elevate your flat lays.
Ask:
- “Do you have any extra florals I can use for details?”
- “Is there a specific design element I should highlight?”
- “Can we set aside a small moment for details before everything gets busy?”
Weddings are collaborative and showing up as a team player elevates everyone’s work.
7. Step Back (Literally)
When you’re in the middle of styling, it’s easy to miss small misalignments or imbalances.
So:
- Step back
- Walk away for a minute
- Take an iPhone photo
Viewing the layout on a small screen helps you catch things you might miss otherwise. This one habit alone can improve your flat lays dramatically.
8. Take One Thing Away
When in doubt, simplify. Once your layout feels complete, remove one element and check the composition again. Often, that extra bit of space is exactly what was needed. Clean, intentional, and elegant always wins.
Final Note on Styling Flat Lays
I hope this guide helps you create detail images that feel elevated, balanced, and true to your style. Flat lays are one of the first parts of the wedding story, and when done beautifully, they set the tone for the entire gallery.


comments +